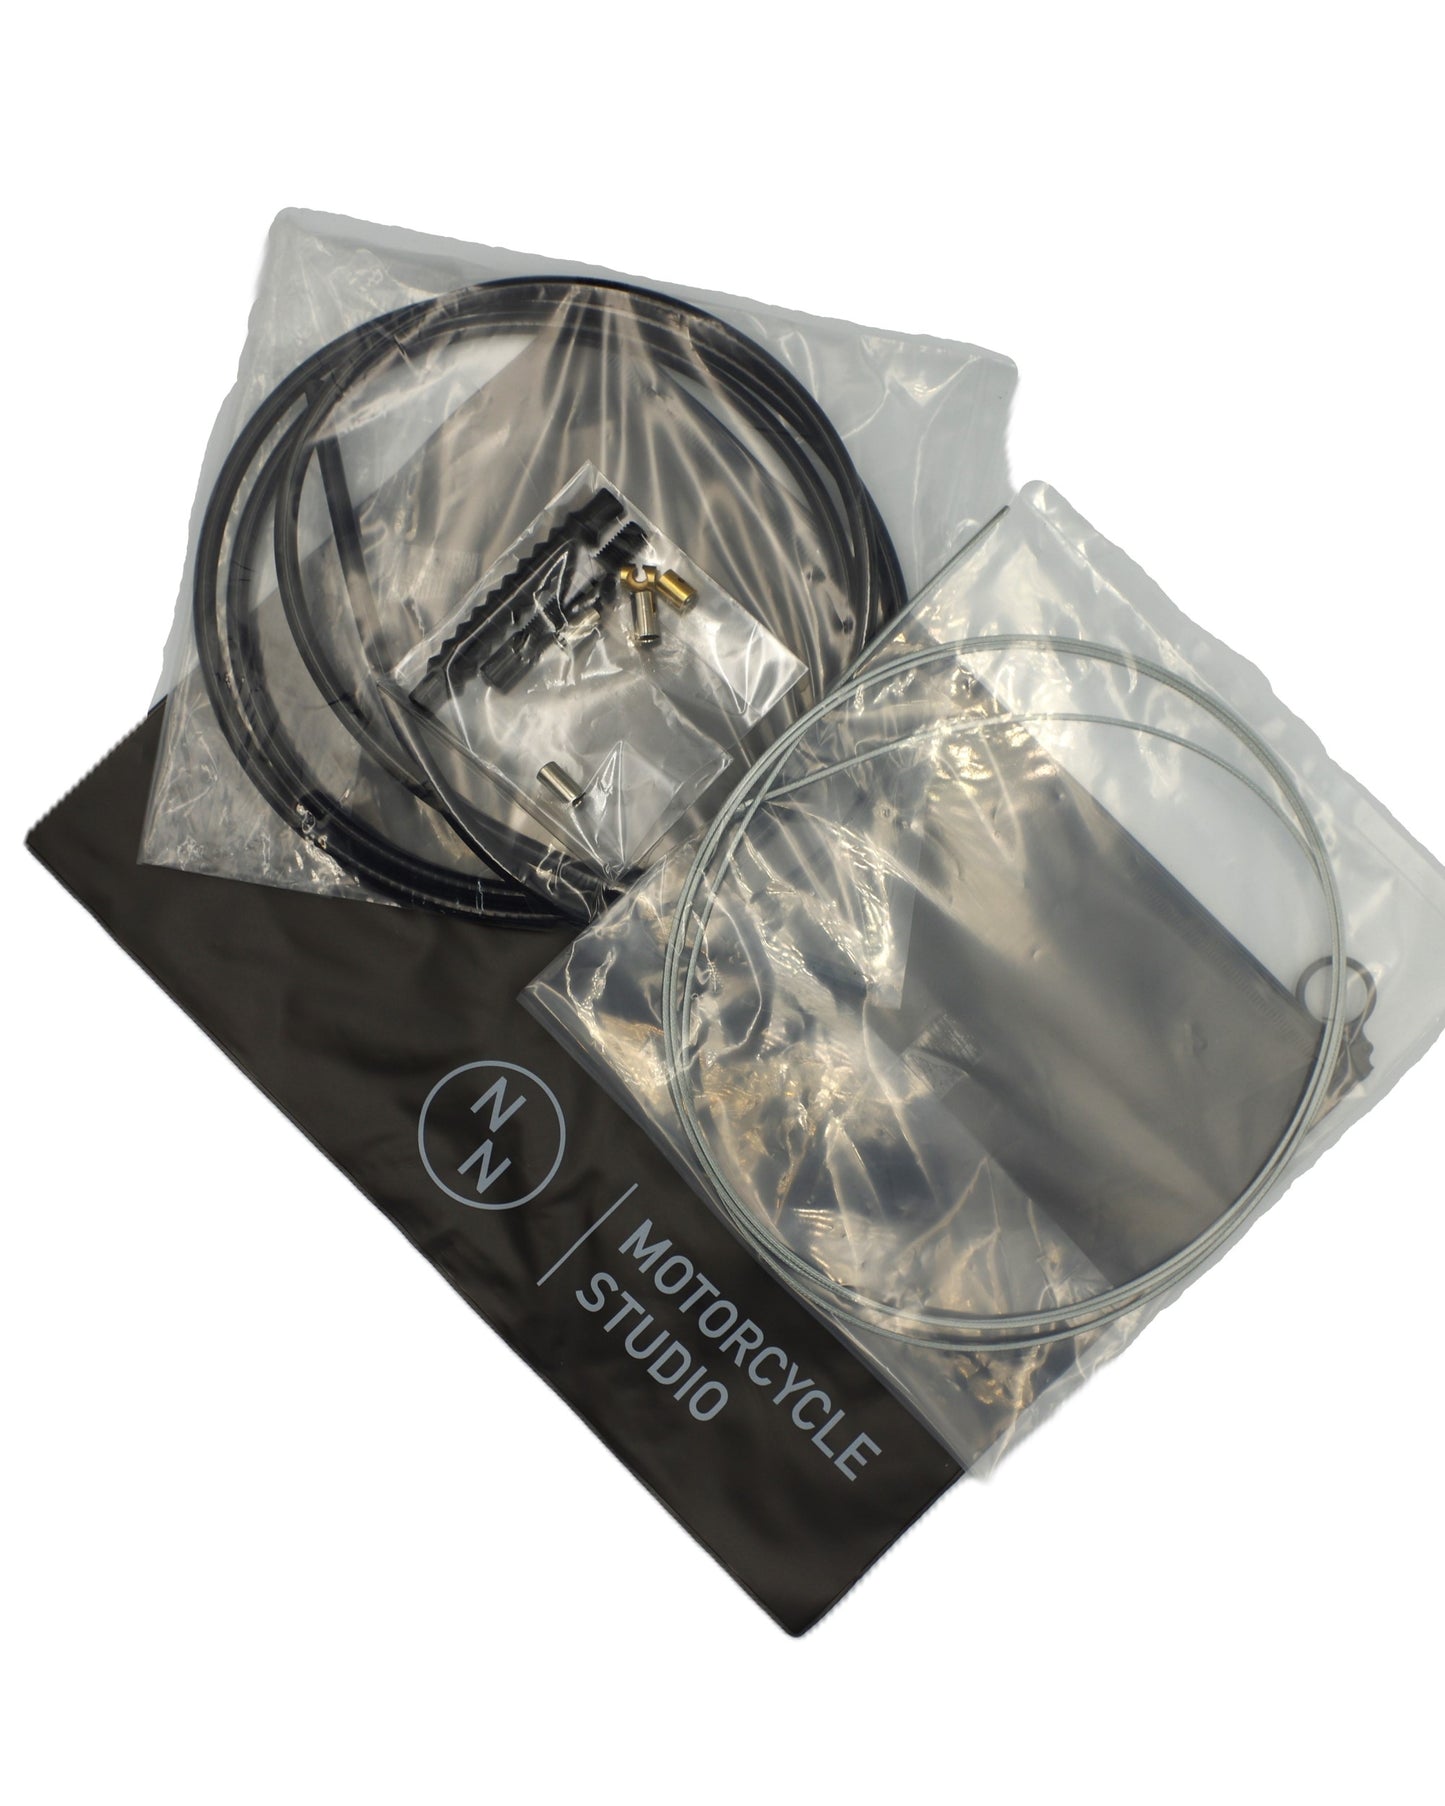
Amazon・楽天
でも販売中
でも販売中


Check the outer cable and the adjustment bracket, and then attach the adjustment bracket to the vehicle. Depending on the vehicle, it may be difficult to attach, so it may be easier to attach it while it is still inserted in the adjustment bracket, as shown in the reference photo at the bottom right.

When installing, remove the nut on the front side, insert the bracket, and then put the nut back in. At this time, if you temporarily fasten the bracket so that the left and right threaded parts are about the same length, you will have more room for adjustment later.

Take the cable to the handlebar position and roughly route it. At this time, turn the handlebars all the way to the left and route it around assuming the maximum pulling position. Once you have routed it, mark the length to be cut with masking tape or something similar.
*To check, shake the handlebars of the vehicle left and right to make sure the outer cable is not too short or has any problems with handling.

Cut the outer cable with a hacksaw or similar tool along the marks you made. Be careful not to crush the hole inside the cable. If you try to cut it with pliers or similar tools, it may get crushed. It is easier to cut it using a grinder or similar tool.

Put the end cap onto the end of the cut outer cable. Make sure to push it all the way in so that the end cap does not float up.
*If it is difficult to insert the end cap or if there is a burr on the inside of the hole in the cut outer cable, remove the burr with a round metal file or similar before inserting the end cap.

Make sure the end cap is fully inserted, then use a tool to crimp it so that it does not come off. (The photo shows the end cap being crimped with the hand part of a wire cutter, but if you can use a tool to crimp it, that's fine.)
This completes the preparation of the outer cable. If you removed it before working on it, attach it to the vehicle body.

Pass the inner wire through the hole in the adjustment bracket on the crankcase side to the handlebar side. When passing the inner wire through, applying oil may make it easier to operate the clutch, so apply oil to your liking.

Once you have finished threading the inner wire through, hook the end of the inner wire onto the metal fitting on the top of the crankcase.

For the handle side, actually pass it through the lever and check the temporary fastening position of the drum (make it about 5 mm longer than the exact position).
*If you position it exactly, it may end up being shorter than expected and you may not be able to go back. If you are unsure, we recommend setting it a little longer and then adjusting it in the post-processing.

Temporarily attach the wire to the position you checked earlier. Tighten the adjustment mechanism as much as possible to loosen the wire and set it to the shortest position. (Arrow part)

Compare it with the actual item and check that there is no difference in position. (It may be loose inside, so apply some tension when checking.)

After checking the position, cut the wire (it is hard so please prepare a tool such as a wire cutter)

Actually attach it to the lever and check the length. This check is important, so make sure the length feels right in the same conditions as when you're riding. If you have a long adjustment range, shorten it little by little at this stage, and adjust it until you can firmly disengage the clutch.
Once you have completed the adjustment, fully tighten the drum set screws.

Once you have adjusted the wire length, you can secure the drum in place. To make it stronger, we recommend soldering it with stainless steel. First, apply flux and then solder so as to fill in the gap between the drum and the wire. Use a file or similar to finish off any solder that protrudes from the drum.

Attach the wire to the lever and attach it to the handlebar to complete the set. After installation, please use the adjustment mechanism to fine-tune the feel. Other accessories included are a drum and wire end cover for those who have a drum type inner wire attachment. Please use as needed.

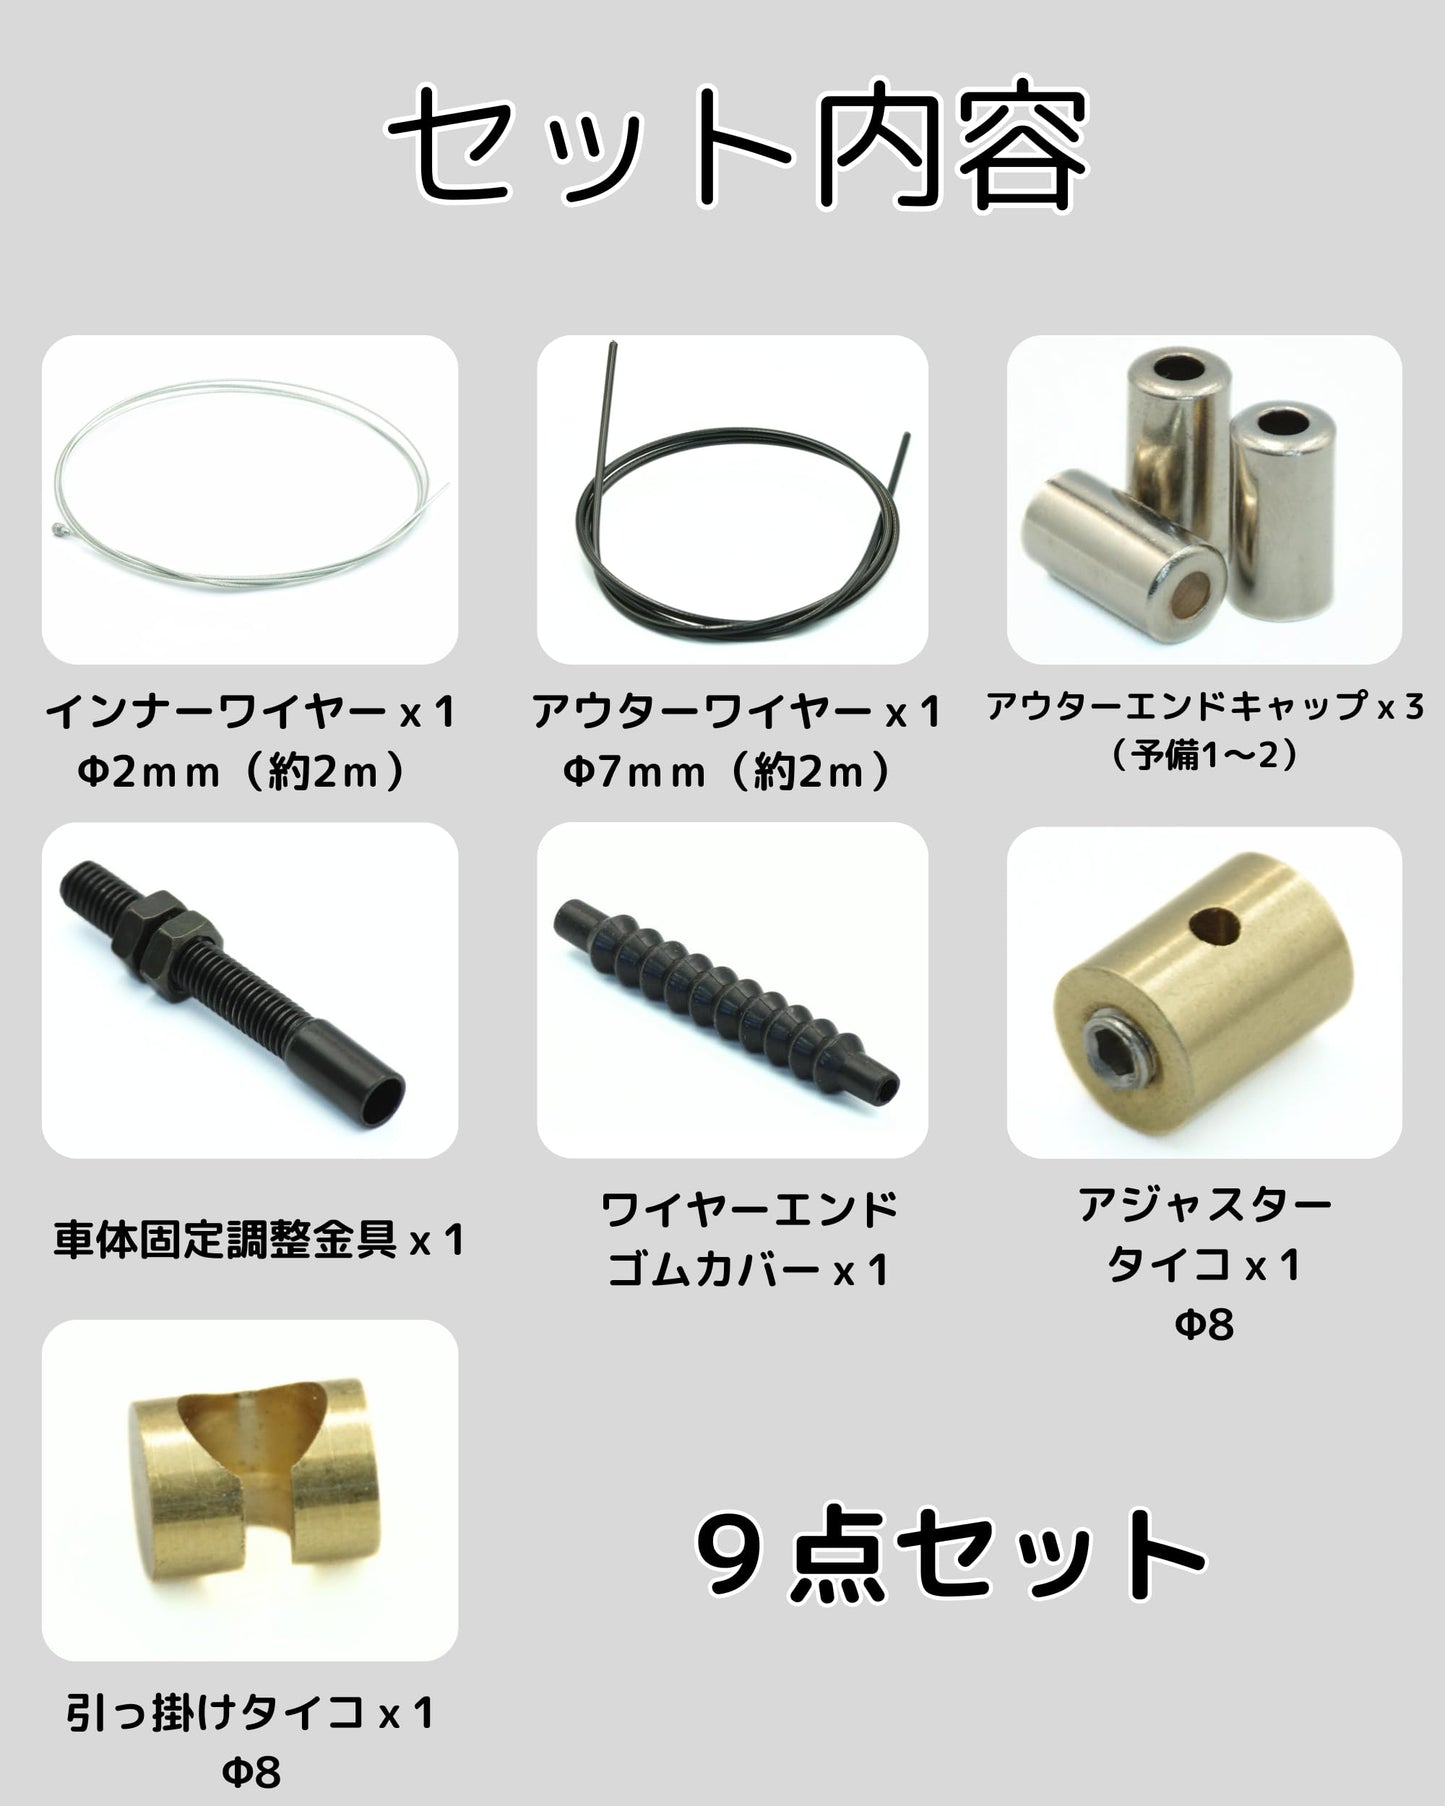
クラッチワイヤー自作キット


インナーワイヤーには錆びにくいステンレスを使用